Hey everyone!
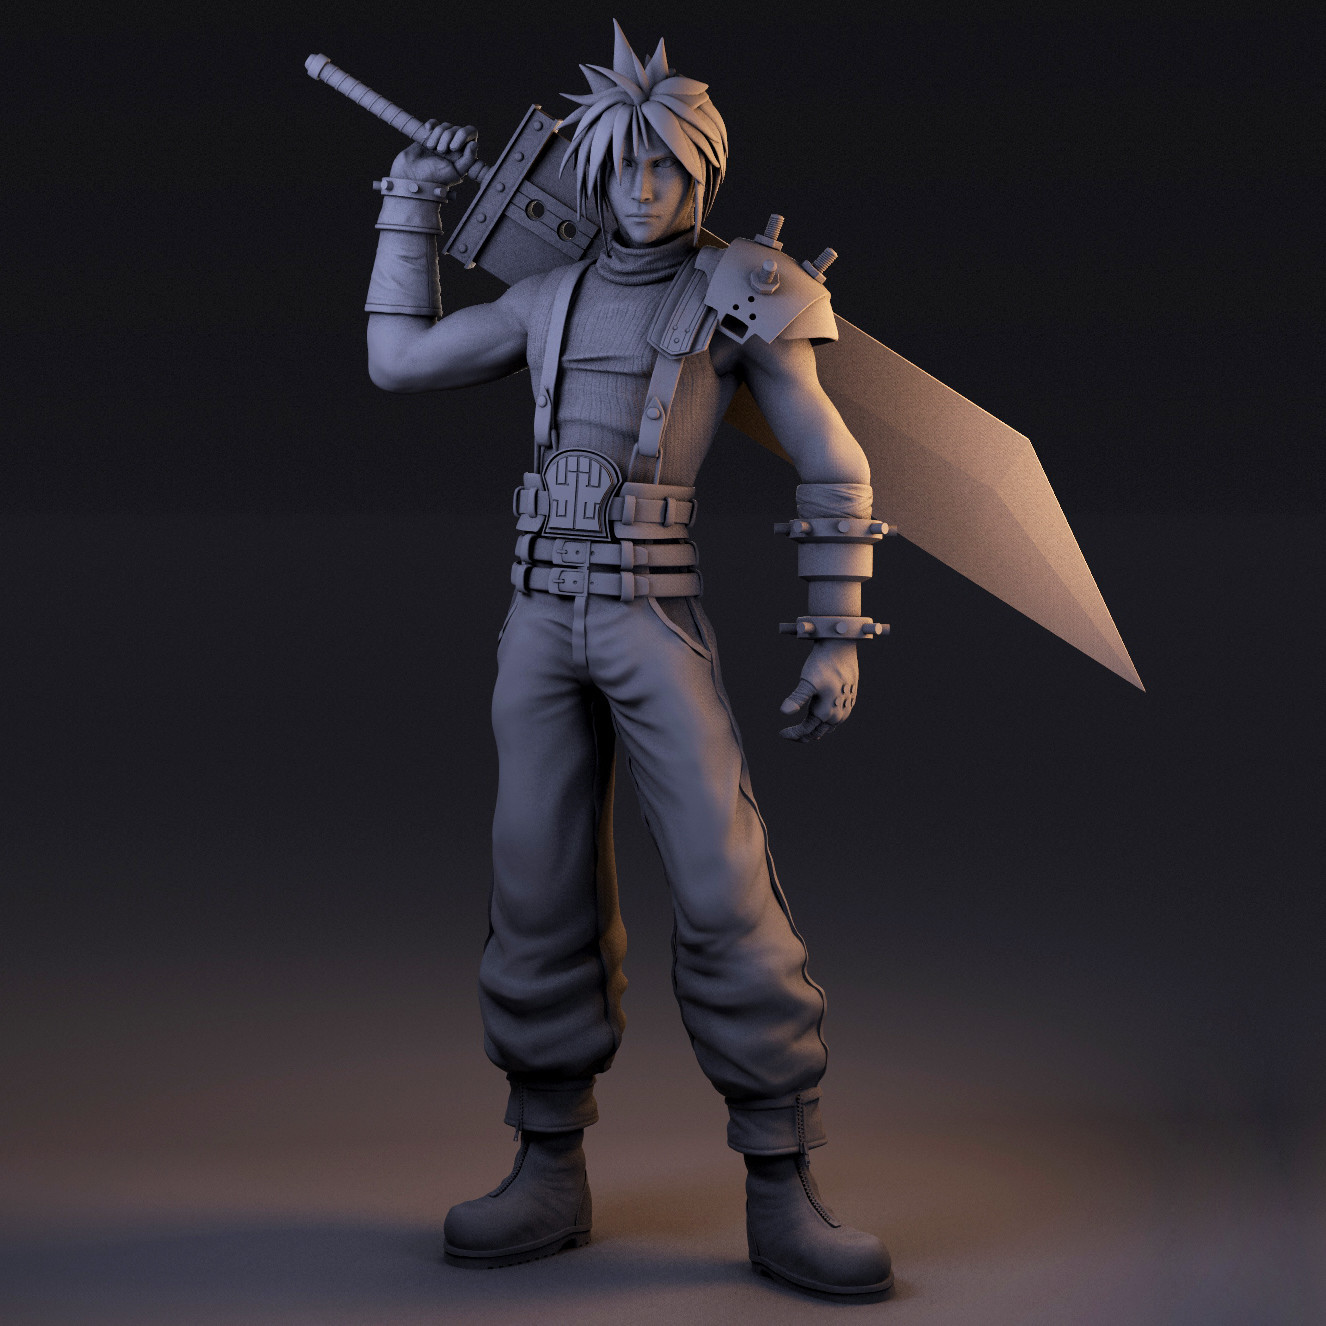
I'm super excited about Artstations new blog feature and decided I'm gonna start consolidating some WIP shots to show you guys how my projects are coming along. I thought for this first post I'd share a project I'm having a lot of fun with. I'm making Cloud Strife from Final Fantasy 7. For right now I'm focusing on getting him looking cool but once that's done I'm going to start engineering him for print and make a small little statue of him.
This was the most recent untextured render I posted on here recently. It was a Keyshot render with a 3-4 point light set up that I really enjoy. The textured version will have a different lighting set up.
Since I've posted this I've made a number of modifications to Cloud.
The biggest update is that I finalized the model of his sword and textured it as well!
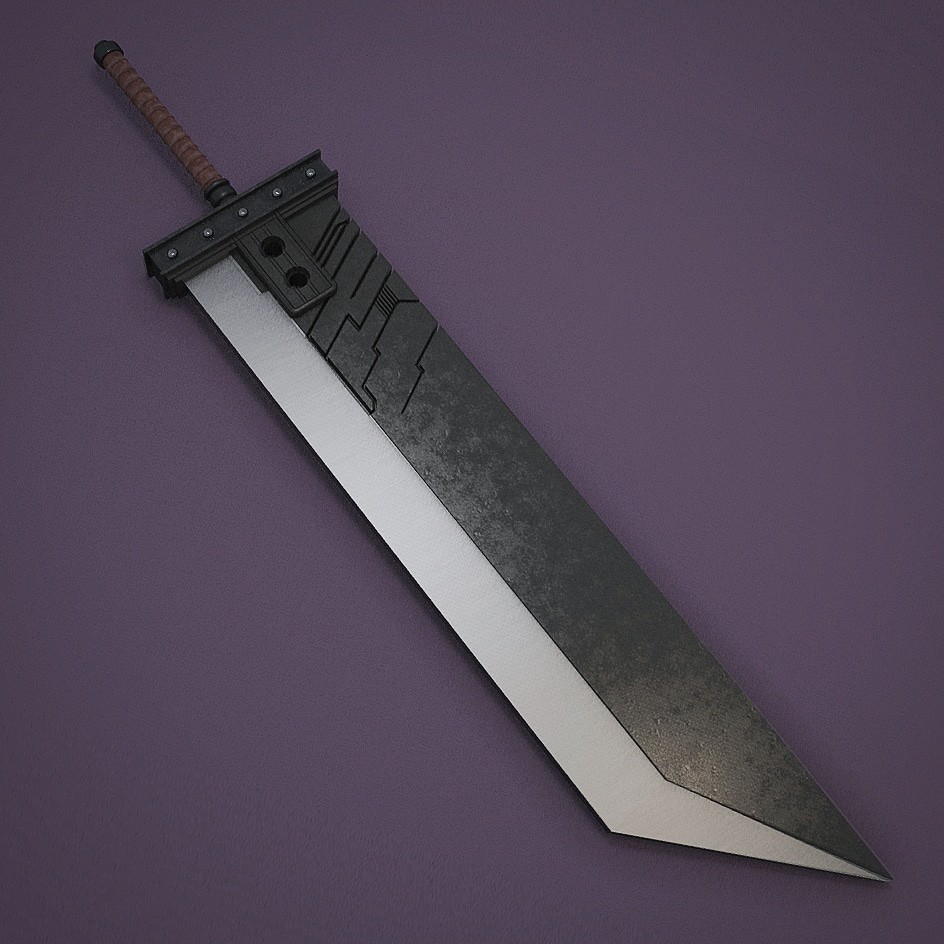
The model was done 99% in Zbrush with only a couple of small components and UV fixes I handled in Max. The design on the sword was done entirely with ZBrush's Live Booleans, one of my favorite new features in 4R8. Also, because I don't really focus exclusively on game art and prefer to focus more on the 3D Printing side of things, I did some really dirty UV Master unwrapping for most of the sword. Normally I would use Polypainting but for this project I wanted an excuse to use some Substance Painter so the model needed UVs.
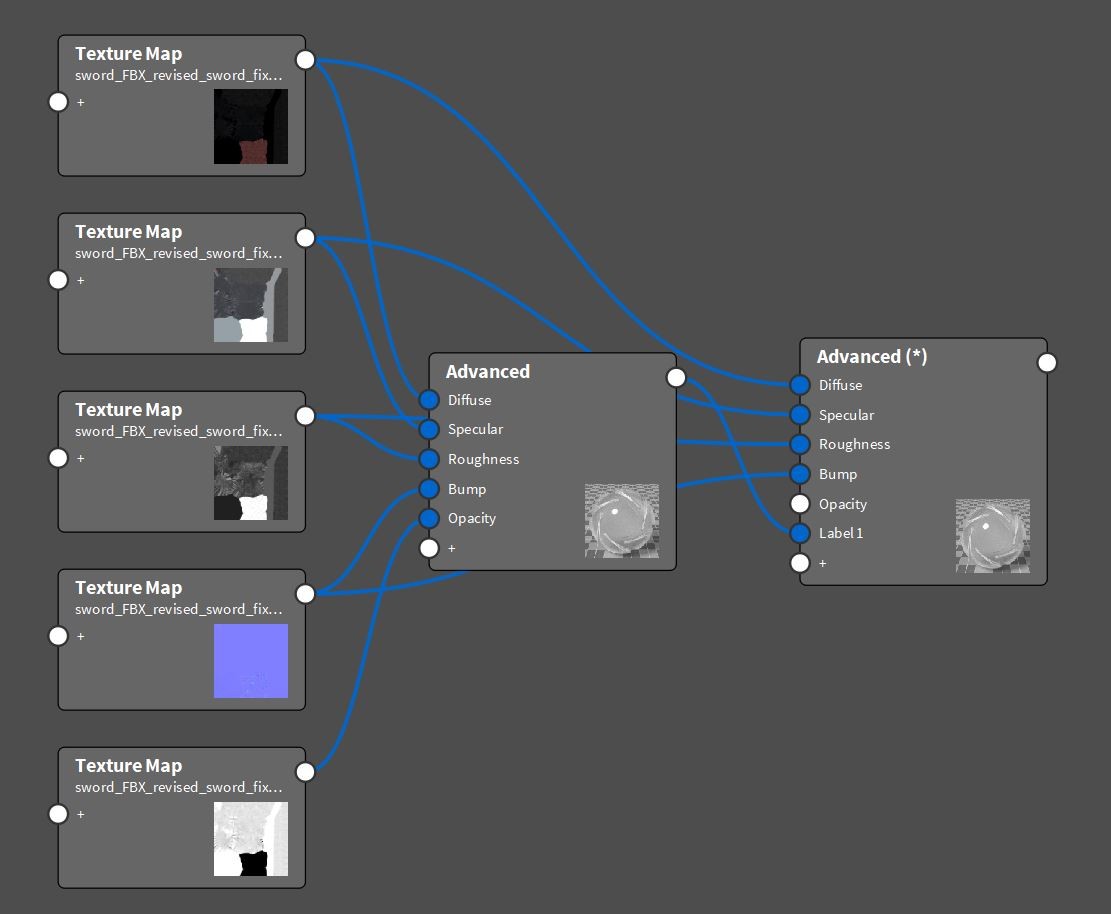
I rendered out Color IDs from Polypaint in Zbrush and then used the Color ID to masked out different areas of the sword. I also did some touch up painting in areas that need it. Once I finished, I exported from Susbtance Painter with the "Keyshot" preset because I also wanted to try and see how PBR works with Keyshot as it's something I've never done before. I found this super handy Substance Painter documentation that shows you how to set up PBR Materials in Keyshot.
https://support.allegorithmic.com/documentation/display/SPDOC/Keyshot
Here's how my material for the sword looks
Other than the sword, I also spent a TON of time making Cloud's hair a bit more 3D Printer friendly. I used the Hair Clump and Hair Detail brush created by Marthin Agusta from XM Studios using a method they showed in their Zbrush Summit 2017 presentation. The brush can be found here
https://gumroad.com/l/UMhCA
Here's what the hair looked like before. It was way too thin and didn't overlap enough
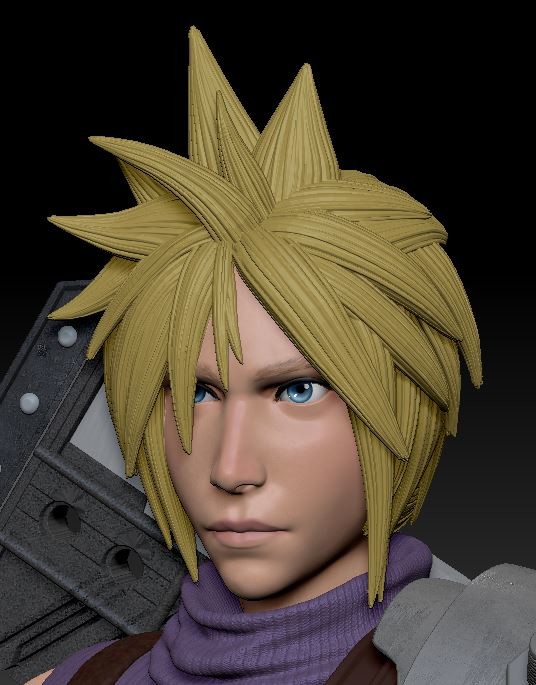
After updating it (and doing some texturing work when I got tired of messing with strands) here's how it looks:

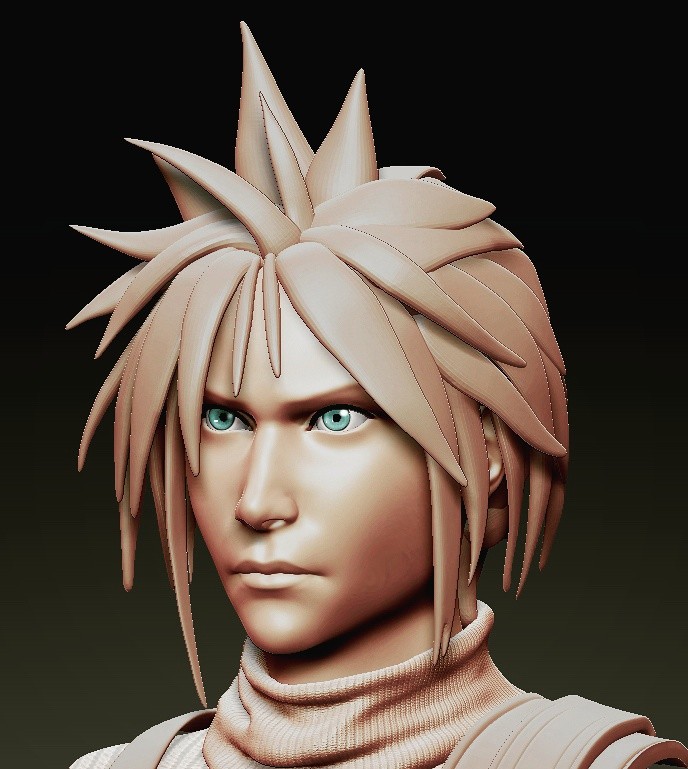
The last update I have for you guys is some small changes that make a huge difference. I revisited Cloud's eyes and face. The face I only made some small subtle changes on, however I completely redid the eyes because I didn't like how I had done them initially. Finally here is the current version of Cloud's face. I think the eyes pop a lot more now.
As always, he's still a huge WIP all around but making good steps towards completion! Moving forward I'm gonna continue to work on texturing the rest of his body and making other changes as I continue to polish him up.
Thanks for checking out my blog! Looking forward to posting more on this in the future :)
Thanks for checking out my blog! Looking forward to posting more on this in the future :)